
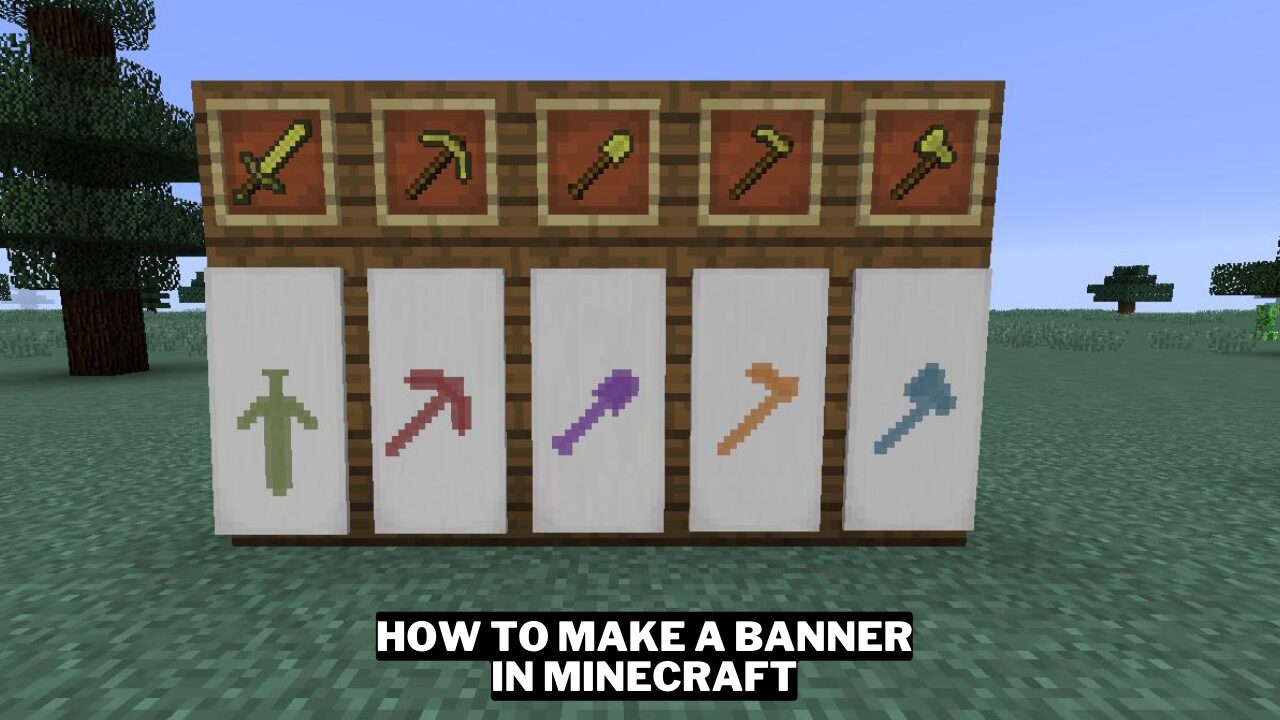
Creating a banner in Minecraft is a great way to showcase your unique patterns and designs. These tall blocks serve as excellent decorations for interior spaces. While you can come across banners naturally in Minecraft, the available options are quite limited and not very impressive.
Do you want to create a unique and eye-catching design in Minecraft? You’re in luck! Making a banner is an easy way to achieve this. Using basic materials and tools, you can create an impressive banner within the Minecraft world.
Let’s dive into the process of making one!
You Might Also Like:
- Best Minecraft Launchers
- Best Minecraft Shaders
- Best Minecraft PE Seeds
- Best Minecraft Bedrock Mods
- Best Minecraft Bridge
1. Create or find a banner
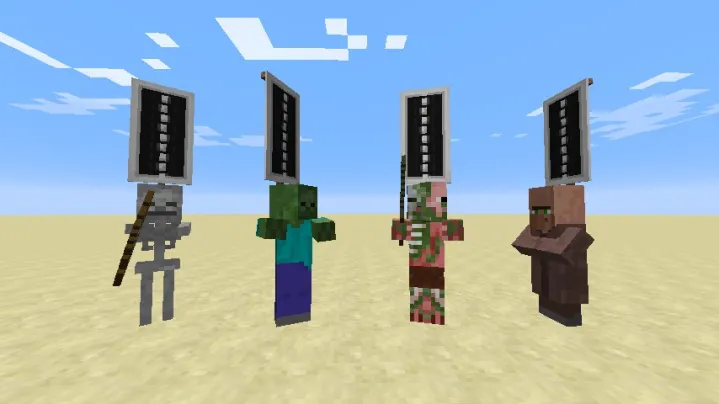
To create a banner in Minecraft, the first step is to obtain a banner. There are two ways to acquire a banner, either by attacking a villager who is holding one or by looting it from an enemy.
If neither of these options is available, you can easily craft your own banner using six segments of wool in matching colors and a stick.
2. Bleach the banner if necessary
Creating a banner in Minecraft does not require bleaching it beforehand, but it is an available option. Bleaching the banner provides a blank white canvas to work with, allowing you to add any desired dyes and remove any existing patterns if you obtained the banner through looting.
However, the process of bleaching requires the use of bleach, which can only be created through a lab table. This feature is available with the Education Edition or through direct commands. To create bleach, you will need to combine three water and three sodium hypochlorite. Once you have the bleach, you can use it to craft the banner and wipe it clean.
3. Add dyes to the banner
If you currently do not possess any dyes in Minecraft, it is recommended to start collecting, purchasing, or creating them. There are a total of 16 different dyes available for use, so select the desired colors and begin the process. Bonemeal, ink sacs, flowers, and plants are all commonly used materials that can be placed in the crafting grid to produce a variety of dyes.
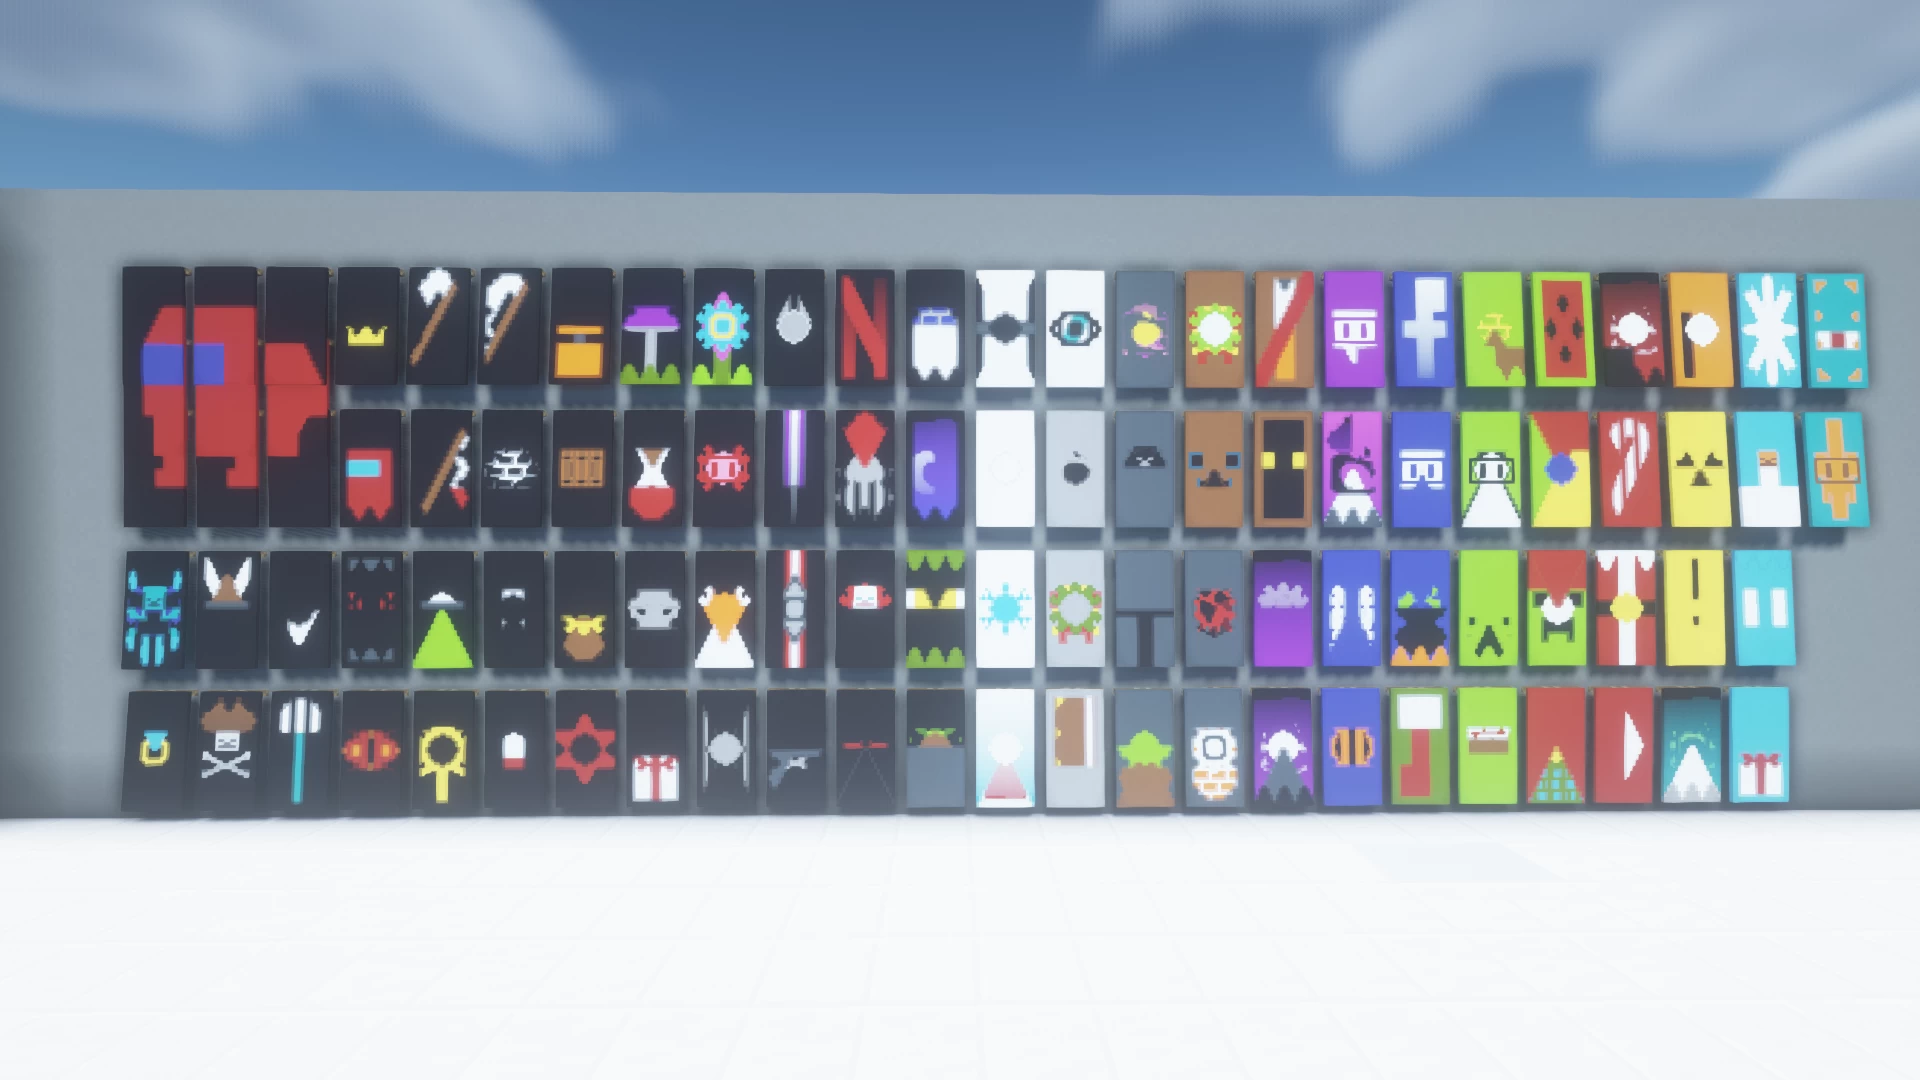
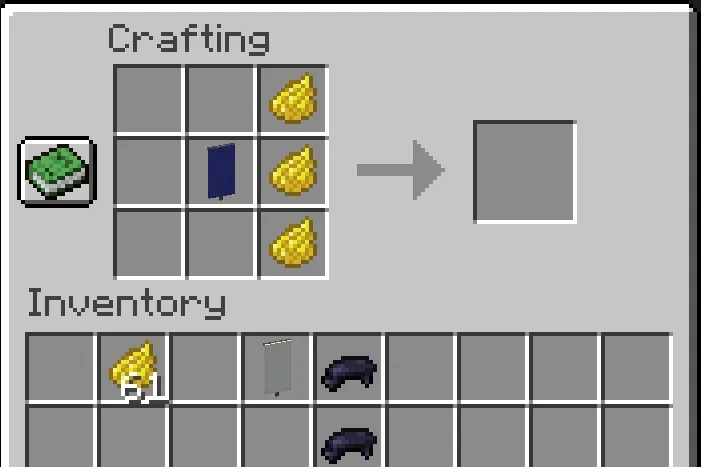
Once you have gathered an adequate amount of dye for your Minecraft project, the next step is to create the banner. The crucial factor here is the placement of your banner and the dyes within the 3×3 crafting grid. This placement will ultimately determine the pattern that will be displayed on your banner.
If you’re looking to make a banner in Minecraft, the placement of items is straightforward. This is especially true if you’re aiming to create a crest-like design. By placing a single dye in one corner of the crafting grid and the banner in the middle, you’ll be able to add a square shape of color to that specific section.
To create a banner in Minecraft, you can use various dyes to add different designs and patterns. Placing a dye in the center of the crafting grid will create a large dot on the banner. By surrounding the banner with dyes, you can create a border of that particular color.
To make a gradient effect, position dyes in the upper right and left corners as well as the bottom two middle sections of the grid. Crosses and X’s can be created by arranging dyes in specific patterns.
If you arrange a triangle of dyes, you can create chevrons at the top or bottom of the banner or diagonally divide it with color, depending on where you place the dyes. These are just a few examples of the different designs you can create on a banner in Minecraft.
Special designs
You can also create special banner designs by adding in additional items along with a dye color for more complex results. These options include:
| Brick | Adding a brick will create a brick pattern. Add a single dye and a brick to create a colored brick pattern. |
| Vine | Crafting a vine, a dye, and your banner will create a wavy border in the color of your preference. |
| Enchanted gold apple | Use this to get the Mojang logo. |
| Oxeye daisy | This provide a vague flower shape. |
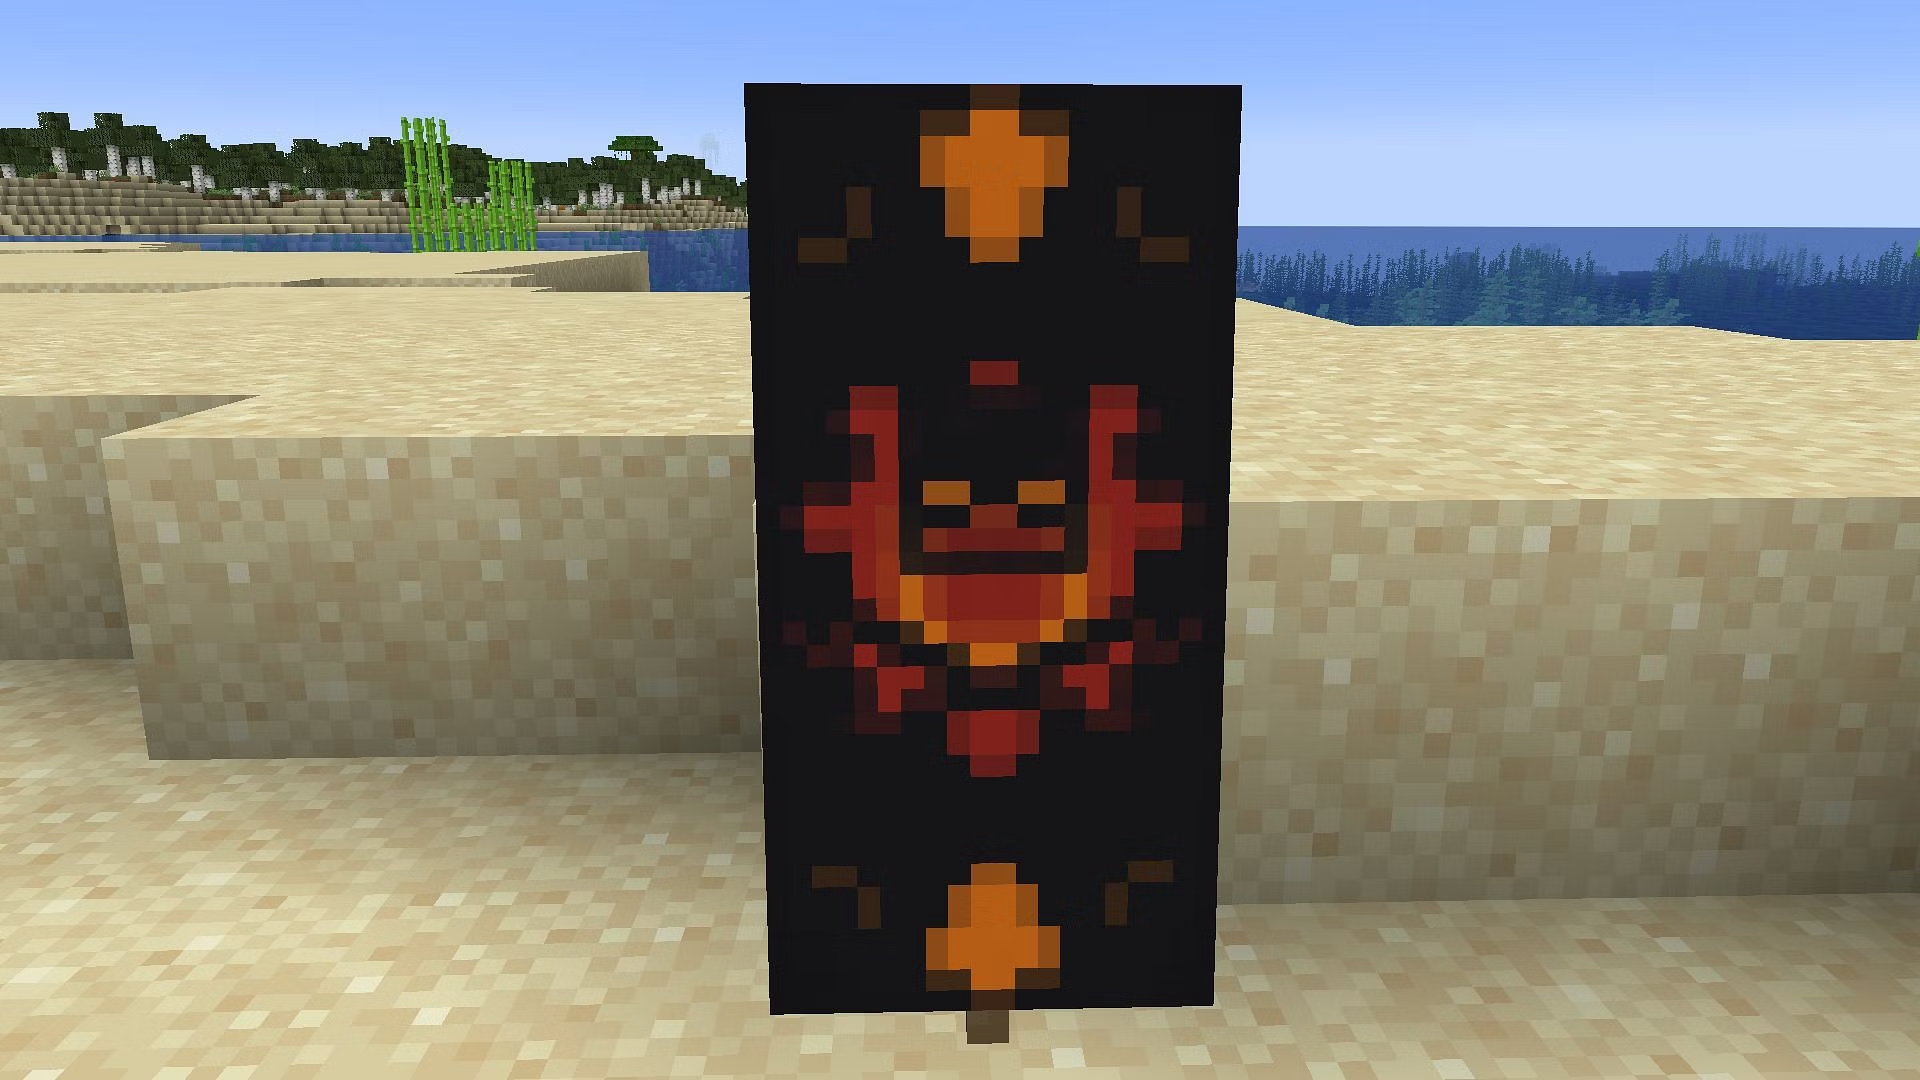
| Wither skeleton skull | Use this to create a skull and crossbones design. |
| Creeper head | This gives you a Creeper-like face on the banner, in the color of your choice. |
In Minecraft, you have the ability to craft dyes on a banner multiple times, which gives you the opportunity to create unique designs and achieve the desired look. If you’re unsure about your design and don’t want to waste any materials, Minecraft provides a tool for experimentation.
4. Place your banner

Once you have created your dyes and designed your banner, you can easily place it in your preferred spot in Minecraft. Banners do not have any collision mechanics, so you can place them either on the ground, similar to a sign, or on a wall.
They are not affected by lava and any objects, including running water, can pass through them without causing any damage.
5. Arrange multiple banners if necessary
If you’re looking to create a more intricate design or a large billboard in Minecraft, using multiple banners is the way to go. By strategically placing these banners with different color patterns, you can achieve the exact look you desire.
To make a banner with the same colors, simply combine a blank banner with your dyed banner in the crafting grid. This handy trick allows you to duplicate your design without having to gather all the necessary materials again.
Where Can You Find Banners in Minecraft
| Banner Type | Location |
|---|---|
| Magenta Banner with Black Chevron Patterns | End Cities |
| Gray Banner | Banner room in woodland mansions |
| Light Gray Banner with White Flower Charge Pattern | Master bedrooms of woodland mansions |
| Ominous Banner or Illager Banner | pillager outposts; carried by patrol and raid captains |
| Brown Banner | Savanna villages |
| Black Banner | Altar rooms of woodland mansions |
For more content on Guide check out the relevant links below and any of our guides, list of games, and news on Gamerode.


Leave a comment